How to use the use of wireless network card
1) At present, the USB wireless network card model that is adapted to the image is shown below:
| Chip model | Function | VID&PID | Adaptation |
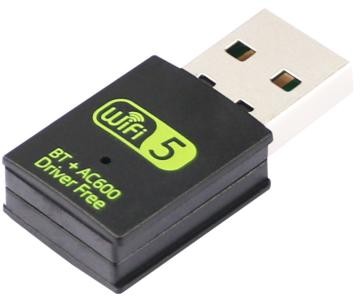
| RTL8821CU | 2.4G +5G WIFI+BT 4.2 | 0bda:c820 | Only support wifi, Bluetooth needs to be adapted |
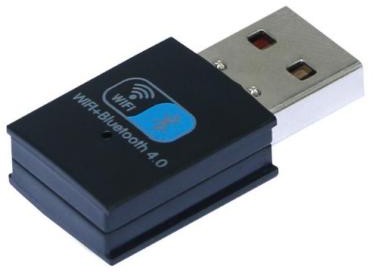
| RTL8723BU | 2.4G WIFI+BT4.0 | 0bda:b720 | Only support wifi, Bluetooth needs to be adapted |
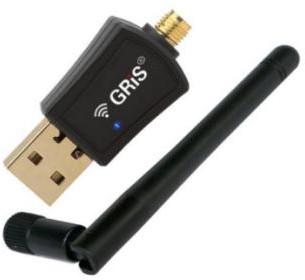
| RTL8811CU | 2.4G +5G WIFI | 0bda:c811 | Only WIFI function, supported |
2) The picture of the above three USB wireless network cards is shown below:
a. The picture of the RTL8821CU USB wireless network card module is shown below:
b. The pictures of the RTL8723BU USB wireless network card module are shown below:
c. The picture of the RTL8811CU USB wireless network card module is shown below:
3) The test methods of the USB wireless network cards of the above 3 models are the same. First, insert the USB network card into the USB interface of the development board, and then enter Setting

4) Then choose Network & internet

5) Then choose Internet

6) Then turn on the Wi-Fi switch

7) If everything is normal after opening the Wi-Fi, you can scan to the nearby Wi-Fi hotspot

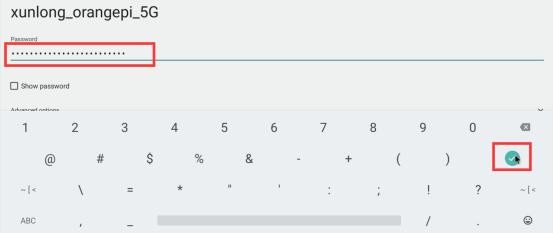
8) Then select the Wi-Fi you want to connect, and you will pop up the password input interface shown in the figure below
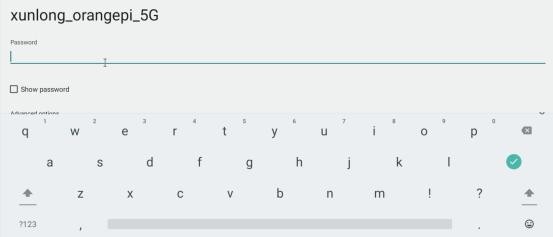
9) Then use the keyboard to enter the corresponding password of the wi-fi, and then use the mouse to click the Enter button in the virtual keyboard to start connecting Wi-Fi
10) The display after the Wi-Fi connection is successful as shown in the figure below:
