How to use Win32Diskimager to burn Linux image
1) First prepare a TF card with a capacity of 16GB or more. The transmission speed of the TF card must be class 10 or above. It is recommended to use a TF card of SanDiskand other brands
2) Then use the card reader to insert the TF card into the computer
3) Then format the TF card
a. SD Card Formatter can be used to format the TF card. The download address is:
https://www.sdcard.org/downloads/formatter/eula_windows/SDCardFormatterv5_WinEN.zip
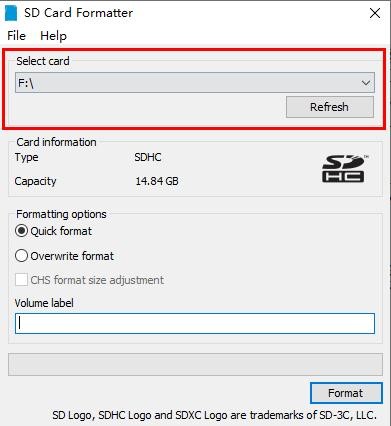
b. After downloading, unzip and install directly, and then open the software
c. If only a TF card is inserted into the computer, the drive letter of the TF card will be displayed in the "Select card" column. If multiple USB storage devices are inserted into the computer, you can select the corresponding drive letter of the TF card through the drop-down box

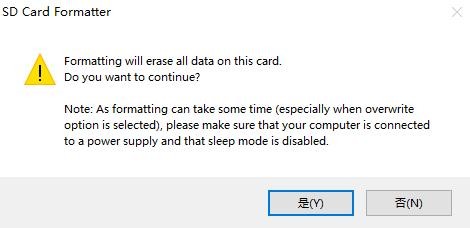
d. Then click "Format", a warning box will pop up before formatting, and formatting will start after selecting "Yes (Y)"

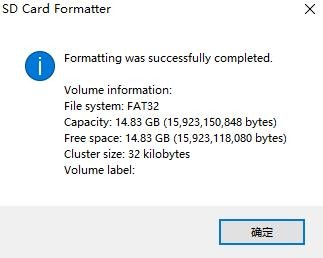
e. After formatting the TF card, the information shown in the figure below will pop up, click OK

4) Download the Linux operating system image file compression package that you want to burn from the Orange Pi download page(Official Tools), and then use the decompression software to decompress it. Among the decompressed files, the file ending with ".img" is the image file of the operating system. The size is generally more than 2GB
5) Use Win32Diskimager to burn the Linux image to the TF card
a. The download page of Win32Diskimager is
http://sourceforge.net/projects/win32diskimager/files/Archive/
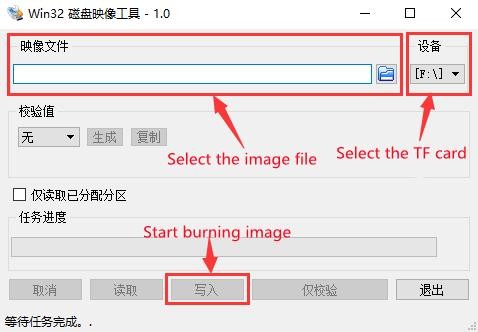
b. After downloading, install it directly. The interface of Win32Diskimager is as follows
a) First select the path of the image file
b) Then confirm that the drive letter of the TF card is consistent with that displayed in the "Device" column
c) Finally click "Write" to start burning

c. After the image writing is completed, click the "Exit" button to exit, and then you can pull out the TF card and insert it into the development board to start